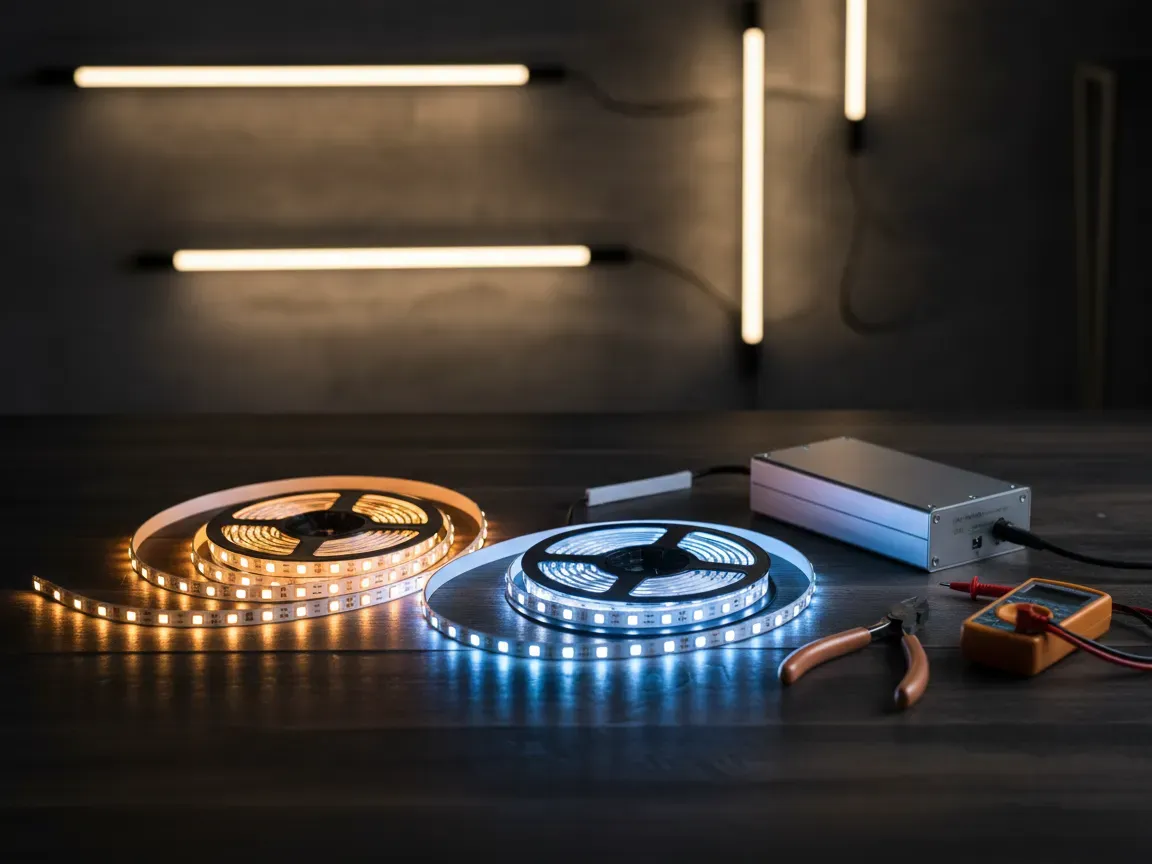
Modern residential illumination has evolved far beyond traditional incandescent fixtures and basic ceiling lamps. Flexible tape lights give homeowners the freedom to introduce architectural accents, backlight cabinetry, and brighten dark work surfaces with remarkable efficiency. Yet embarking on an interior lighting upgrade quickly brings you face to face with an essential electrical decision. Selecting low voltage tape requires evaluating both operating potential and the companion transformer that keeps the system running reliably.
Homeowners and makers frequently find themselves torn between two standard choices. While both configurations operate safely below standard line current, their internal circuitry alters how current flows, how far runs can extend, and how cleanly the tape adapts to distinct spatial constraints. Choosing correctly from the start prevents dim sections, overheated traces, and premature hardware failure.
Key differences between low voltage LED lighting systems
At a surface glance, a reel of 12V flexible tape looks nearly identical to a 24V variant. Both feature surface-mounted diodes fixed onto flexible printed circuit boards with conductive copper traces running through their cores. The fundamental difference lies in their internal circuit architecture and electrical requirements.
Direct current circuits balance power, voltage, and current through fundamental electrical principles. Because electrical wattage equals voltage multiplied by amperage, doubling the voltage cuts the necessary current in half to generate an identical light output. A system running at 24V carries half the amperage of a 12V strip with equal brightness. Lower current means significantly less electrical resistance along the tiny copper paths embedded inside the tape.
Another significant distinction appears in how manufacturers group individual diodes. A standard 12V configuration typically arranges LEDs in groups of three in series with a current-limiting resistor. In contrast, 24V tapes generally group six or more diodes in series. This internal wiring directly dictates where you can physically snip the tape to customize lengths, fundamentally altering installation versatility.
Why voltage drop matters for longer strip runs?
Voltage drop is an unavoidable physical phenomenon in direct current distribution. When electrical current travels through any conductor, internal resistance naturally dissipates a fraction of the incoming energy as heat. As that energy dwindles along the run, the operating voltage available to subsequent diodes gradually decreases.
In practical home environments, this loss manifests as uneven illumination. The beginning of a strip attached directly to the power source shines crisp and bright, but the far end slowly fades into a visibly dimmer output or even shifts in color temperature. In color-changing RGB strips, voltage loss can cause warm whites to take on an unappealing pinkish tone toward the end of the line.
Because 12V systems require twice the current to deliver identical wattage, they experience voltage drop much more aggressively. Generally, a continuous 12V run begins to exhibit perceptible dimming after roughly 16 feet (5 meters). Overcoming this limitation requires running parallel feeder cables or injecting power at both ends of the run. Because 24V setups move half the current, they can easily maintain uniform lumen output across single continuous runs stretching 32 feet (10 meters) or more from a single feed point.
When a 12V system makes sense for compact installations?
The physical grouping of diodes on 12V circuits creates tighter cutting intervals, usually spaced roughly 1 to 2 inches apart depending on diode density. This tight spacing provides exceptional precision when fitting lights into small, defined boundaries where an overhang or dark gap would ruin the aesthetic.
Under-cabinet task areas, interior closet shelving, custom display cases, and floating bathroom vanities often present tight geometric constraints. If a bespoke cabinet measures 29 inches wide, a 12V strip allows you to trim within fractions of an inch from the sidewall, producing a clean, edge-to-edge glow. A strip with wider cut increments might leave awkward three-inch shadows at both margins.
Furthermore, 12V remains the universal standard for automotive, recreational vehicle, and marine electrical systems. If your project interfaces with battery storage, solar setups, or off-grid hobby spaces, opting for 12V hardware often removes the need for step-up converters, streamlining the installation.
Benefits of upgrading to 24V tape for whole rooms
When planning ambient cove illumination, perimeter ceiling drops, or extensive baseboard grazing around an entire bedroom or open-concept living area, 24V tape emerges as the superior option. The ability to complete extended runs without routing bulky secondary power cables inside finished drywall saves considerable installation time and labor.
Beyond run length, the reduced amperage inherent to 24V configurations creates less thermal stress on internal components. Diodes and current-limiting resistors run slightly cooler, which helps preserve the luminous efficacy and operational lifespan of the strip. Lower current draw also permits the use of lighter gauge connecting wire over extended distances without risking excessive heat generation or fire hazards.
These higher-voltage systems are particularly advantageous when pairing strips with sophisticated dimming protocols, such as pulse-width modulation dimmers or smart home automation bridges. The reduced line resistance minimizes flickering issues that can occasionally plague longer low-voltage lines running on dimmer controls.
How to calculate driver wattage for your project?
Every low-voltage installation relies on a transformer, commonly known as a driver, to step down 120V household alternating current to smooth direct current. Sizing this unit correctly demands methodical calculation rather than guesswork.
First, check the manufacturer rating for your chosen strip, which is typically listed as watts per foot or watts per meter. Multiply this baseline rate by the total linear distance you plan to mount. For instance, if your tape consumes 4.5 watts per foot and your kitchen perimeter requires 20 feet, your lighting load totals 90 watts.
Never pair a load directly with a power supply rated for the exact same capacity. Continuous electrical loads require a headroom margin, commonly referred to as the 80 percent rule. Operating an electronic driver constantly at maximum capacity accelerates thermal degradation and triggers integrated overload protections.
To apply this buffer, take your calculated wattage and divide it by 0.8, or simply multiply the total by 1.25. In our 90-watt scenario, multiplying by 1.25 yields a requirement of 112.5 watts. You would round up to the next commercially available size, such as a 120-watt or 150-watt unit. Modern constant voltage LED drivers engineered with adequate headroom deliver stable voltage levels while running whisper-quiet for years.
Smart tips to ensure stable performance across your home installation
Even an appropriately rated driver can run into issues if the supporting physical installation lacks proper planning. Always pair high-output LED tape with aluminum channel extrusions. The metal backing acts as a heat sink, wicking heat away from sensitive diodes and printed traces to prevent thermal throttling and maintain output quality.
When routing low-voltage cables from your power supply to the starting edge of your tape, account for lead-wire resistance. If your driver sits in a basement utility closet or remote pantry 30 feet away from the fixture, you will experience line drop before the electricity even reaches the first LED. In these layouts, choose 16-gauge or 14-gauge copper wire rather than thin bell wire to preserve system voltage.
For expansive perimeter layouts that exceed recommended single-run lengths, utilize a loop feed or center-feed design. Connecting your power supply leads to the center point of a long strip allows current to travel both left and right, effectively doubling the usable distance without causing voltage drop.
Making the right electrical choice for your home layout
Matching the electrical characteristics of your lighting hardware to the physical scale of your living space is the secret to a professional installation. A compact display niche or vehicle camper demands the precise cut points and native battery compatibility of a 12V setup, where runs stay short and every fraction of an inch counts. Conversely, sweeping living areas, perimeter crown molding, and expansive architectural accents perform far better on a 24V backbone that prevents voltage drop and minimizes secondary cabling.
Once you establish the total distance and spatial layout, determining the appropriate power supply becomes an easy exercise in arithmetic. Factoring in the continuous operating safety margin ensures your transformer runs efficiently without accumulating destructive heat over years of daily operation. Taking the time to coordinate your strip voltage, wire gauge, and driver rating guarantees balanced, radiant lighting that functions effortlessly.

Author: Leo Maxwell
From the latest smartphones to smart home innovations, Leo tests everything so you don't have to. He delivers in-depth reviews, practical how-to guides, and honest advice to help you make the best tech purchases.